Use the integrated generative AI functionality to generate images for presentations. This can help you to quickly and easily design your presentations, adding background and custom graphics based on a natural language prompt. Simply enter your prompt into the image generator to return an image.
Warning: When using LLMs, your assets are generated using public domain algorithms. This can produce erroneous and inconsistent or random results. Use at your own risk.
Generating an image using AI
The AI Image button is located on the Design ribbon:
Before you begin
Currently, you are only offered the AI Image option if your enabled Default LLM Engine is OpenAI.
Note: You can only make use of this functionality if your administrator has selected to Enable Generative AI in the AI Settings page of the Admin Console. Otherwise, the function is not available for use.
Generate a Background image
A background image is created with the same size and dimensions as the slide. If you send this newly created image to the back of the slide, it becomes a whole-slide background picture.
From the Design ribbon:
- Click AI Image > Generate Background.
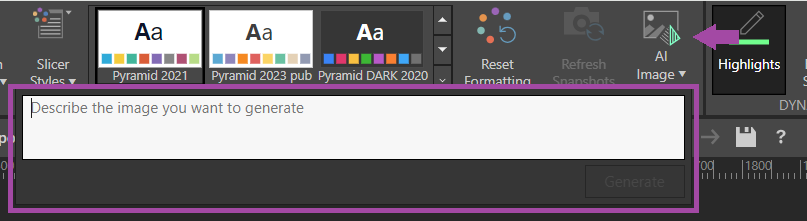
- Describe the image that you want to generate (purple highlight, below).
- Click Generate or hit Enter on your keyboard.
- Optionally, right-click the image and select Send to Back > Send to Back on the context menu to place it behind any other items on the canvas.
The Prompt Field opens below the ribbon.
After a short delay, the image is generated and added to the canvas.
The new image is now the "background" for this slide.
Generate a Standard image
You can also generate images that you can use on your slide like any other image. The default image size is 300 x 300 px.
From the Design ribbon:
- Click AI Image.
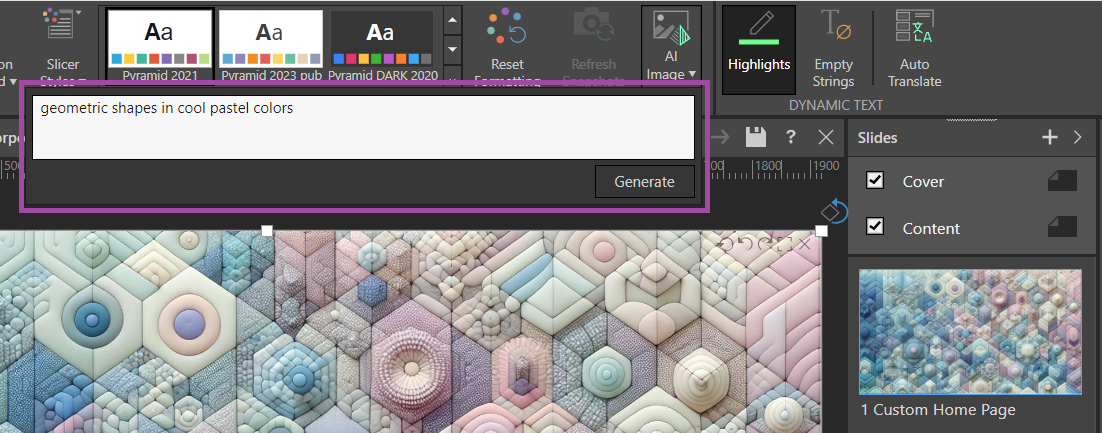
- Describe the image that you want to generate in the text field.
- Click Generate or hit Enter on the keyboard.
- Optionally, resize, reposition, or rotate your image as needed.
The Prompt Field opens below the ribbon.
After a short delay, the generated image is added to the current page.
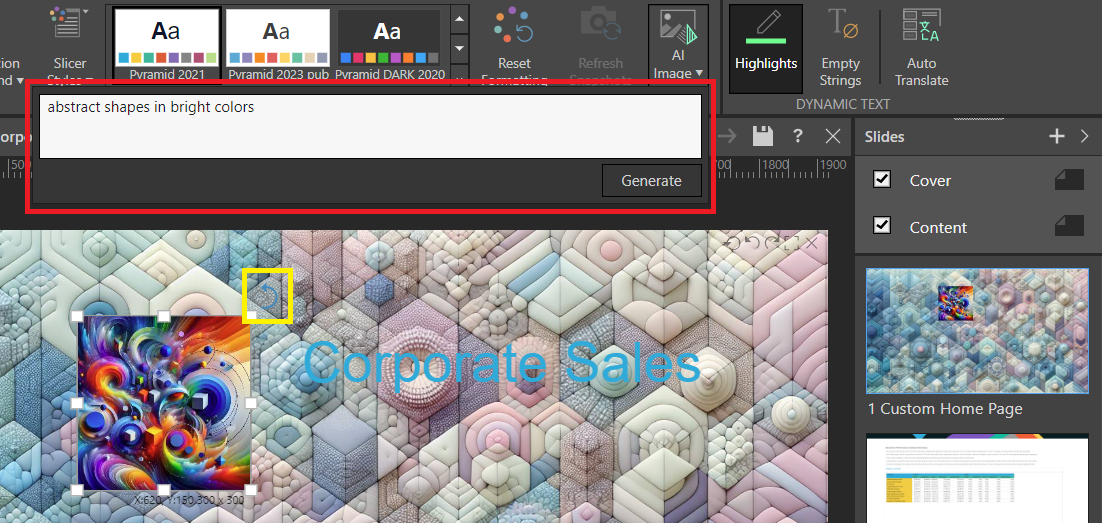
The generated image is added to the current slide as a standard image. In this example, the given input was "abstract shapes in bright colors":
Working With Generated Images
As with other content items, generated images can be re-sized, repositioned, and rotated. This is done by selecting the image and dragging the container handles or the rotation tool (yellow highlight above), or by using the tools that become available on the Component ribbon when you have the image selected. Right-clicking the image also enables several functions on the right-click context menu.
- Click here for more information about working with images on the canvas